

Deploying to Production
One installer. Any cloud.
Provision an Ubuntu 24.04 server, paste one command, and Pete Panel comes up with free SSL, hardened defaults, and one-click migration from your playground. Pick your cloud below.
Why Pete Panel for production?
The same stack you tested in the playground, hardened for the open internet — installed by one command on any Ubuntu 24.04 server.
Free SSL out of the box
Certificates auto-provisioned and renewed via Let’s Encrypt — every site serves HTTPS from its first request.
Optimized performance
Apache MPM Event, HTTP/2, Redis object caching, and OPcache — tuned by default, no config spelunking.
Migrate & clone in one click
Build in a local playground, export in Pete format, deploy to production — no rebuilding from scratch.
Developer-friendly
phpMyAdmin, OWASP CRS (ModSecurity) security, PHP 8.1–8.3 switchable with zero downtime, full Docker access.
It’s the stack behind our performance numbers — hundreds of millions of cached visits a month on a $48 Linode. See the benchmarks →
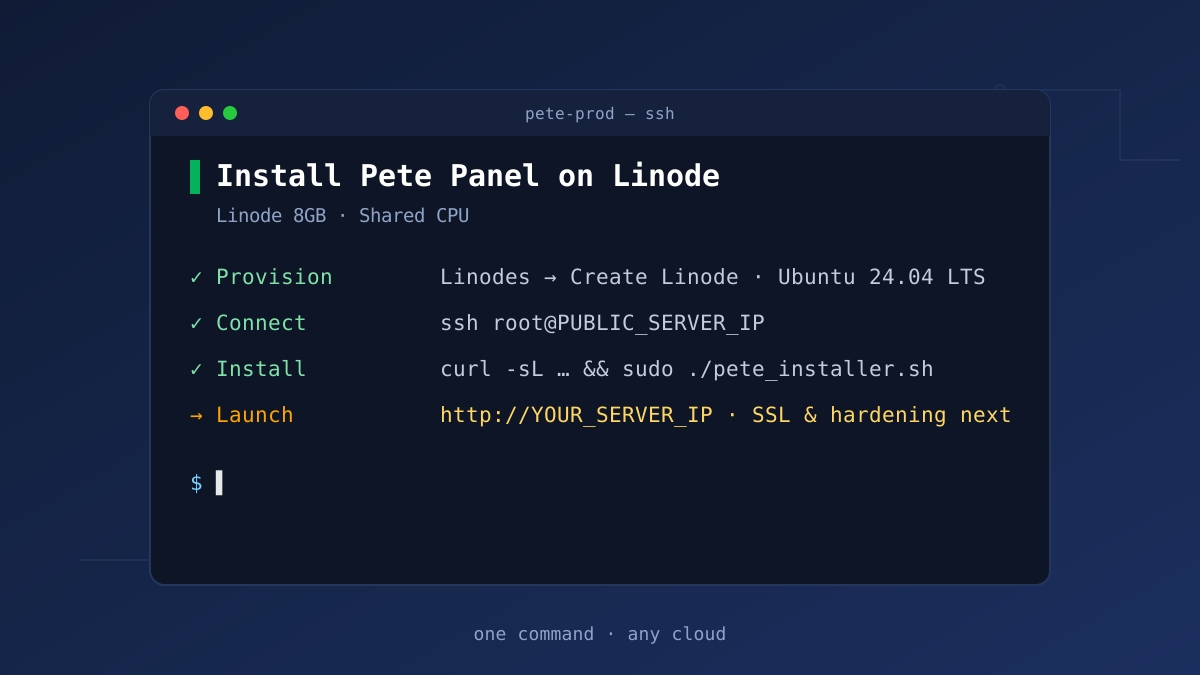
Linode
Shared CPU · Linode 8GB (or higher) · Ubuntu 24.04 LTS · five steps to live
From an empty Linode account to a live Pete Panel in five short steps — the $48/month Linode 8GB is the same machine our benchmarks call the starter tier.
- Provision
- Connect
- Install
- Launch
- Harden
The steps, start to finish
- Provision the server — Linodes → Create Linode: image Ubuntu 24.04 LTS, region closest to your users, plan Shared CPU → Linode 8GB (or higher), label
wp-pete-prod, paste your SSH public key. Create, wait for Running, copy the IPv4. - Connect over SSH —
ssh root@PUBLIC_SERVER_IPfrom your local terminal. - Run the Pete installer — paste the one-liner above; it downloads the script, makes it executable, and launches it.
- Launch Pete in your browser — when the script completes, visit
http://YOUR_SERVER_IP. - Harden SSH & firewall (optional, recommended) — move SSH to port 2222, rate-limit it with UFW, allow 80/443, enable the firewall. Next login:
ssh -p 2222 root@YOUR_SERVER_IP.
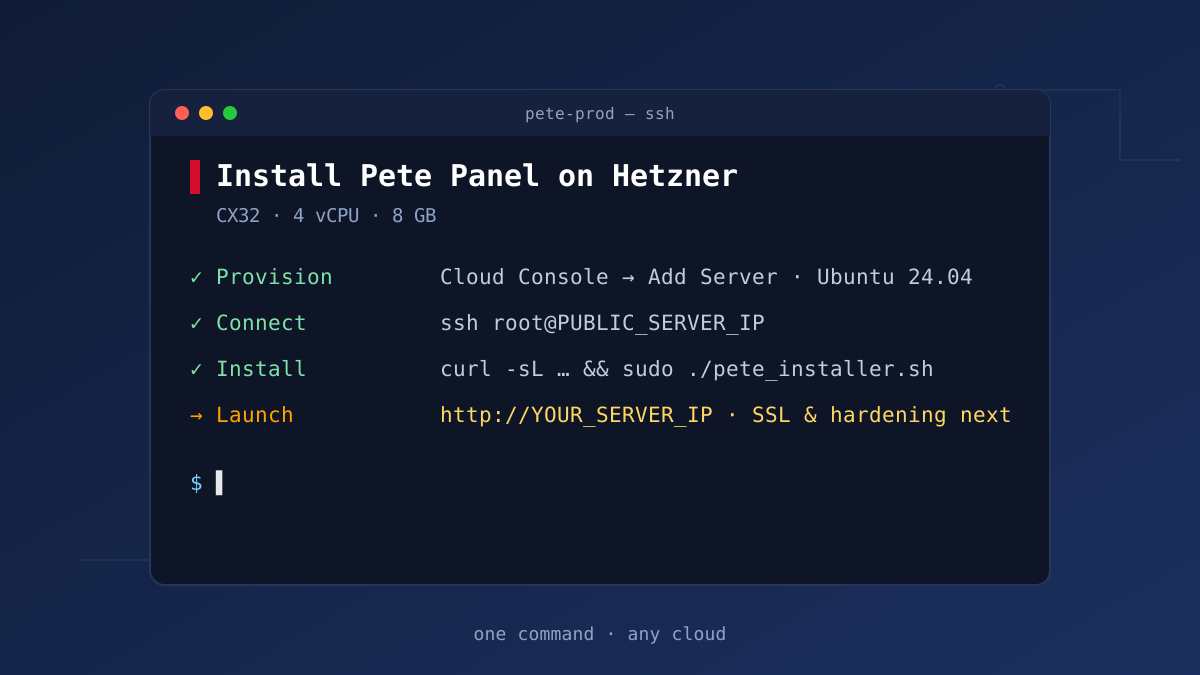
Hetzner
Cloud · CX32 (4 vCPU / 8 GB) · Ubuntu 24.04
The best price-per-GB of the four. A few clicks in the Cloud Console, one SSH session, and the installer does the rest — identical stack, identical hardening.
- Add Server
- SSH key
- SSH in
- Run installer
- Launch
- Harden
The steps, start to finish
- Add the server — Hetzner Cloud Console → Add Server: location nearest your users, image Ubuntu 24.04, type Shared vCPU → CX32 (4 vCPU / 8 GB), Public IPv4 enabled.
- SSH key — add your public key so root logs in with keys, never passwords.
- Create — name it
pete-prod, click Create & Buy now, and copy the IPv4 once it’s Running. - Connect over SSH —
ssh root@PUBLIC_SERVER_IP. - Run the Pete installer — paste the one-liner above.
- Launch Pete in your browser — visit
http://YOUR_SERVER_IPwhen the script finishes. - Harden SSH & firewall (optional, recommended) — SSH to port 2222, UFW rate-limit, allow 80/443, enable. Next login:
ssh -p 2222 root@YOUR_SERVER_IP.
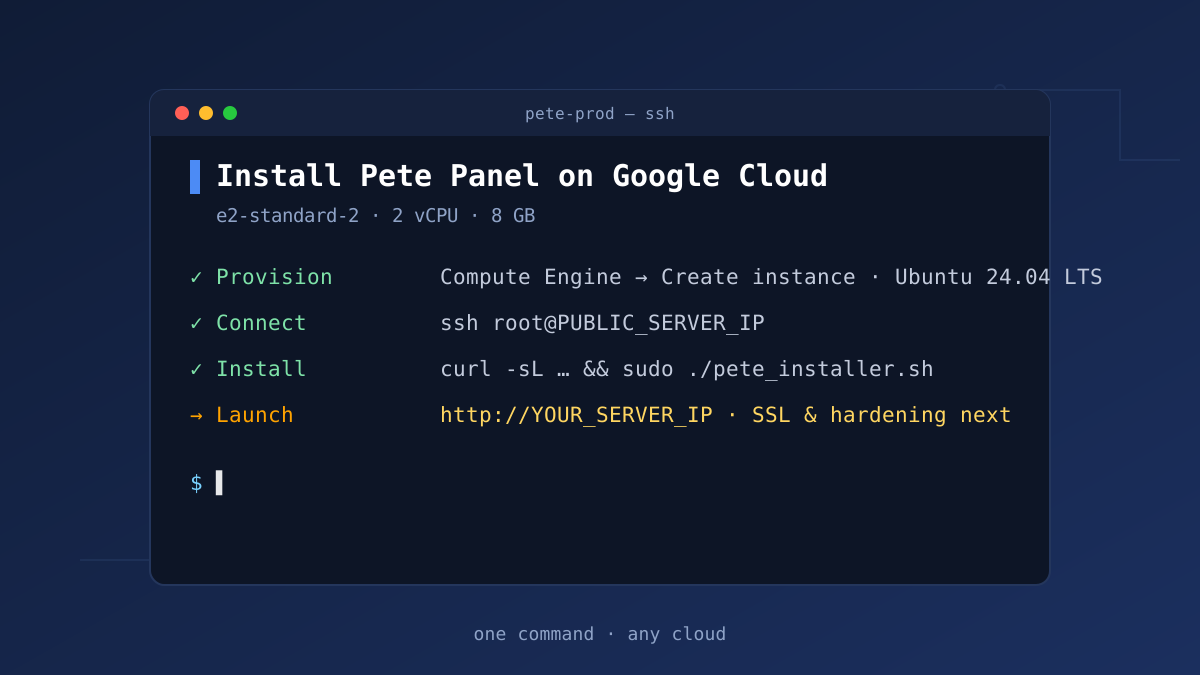
Google Cloud
Compute Engine · e2-standard-2 (2 vCPU / 8 GB) · Ubuntu 24.04 LTS
From an empty Google Cloud project to a live Pete Panel: provision the VM, pin its IP, open the web ports, then one SSH session and one command install the whole stack.
- Provision VM
- Static IP
- Open ports
- SSH in
- Run installer
- Harden
The steps, start to finish
- Provision the VM — Compute Engine → VM instances → Create instance: name
pete-prod, region/zone nearest your users, machine type e2-standard-2 (2 vCPU / 8 GB), boot disk Ubuntu 24.04 LTS (Change → OS: Ubuntu → 24.04 LTS), tick Allow HTTP and Allow HTTPS. Click Create. - Reserve & attach a static external IP — VPC network → IP addresses → Reserve external static IP address: name
pete-prod-ip, Regional, IPv4, same region as the VM. Then VM instances → pete-prod → Edit → Network interfaces → External IP:pete-prod-ip→ Save. Your DNS now survives reboots. - Open ports (only if you didn’t tick HTTP/HTTPS) — VPC network → Firewall rules → Create: name
allow-web, direction Ingress, source0.0.0.0/0, protocolstcp:80,443,22. After setup, consider restricting SSH (22/tcp) to your office IPs. - Enable OS Login (recommended) — Compute Engine → Metadata → Edit → Add item: key
enable-oslogin, valueTRUE(project-wide, or per-VM under the instance’s metadata), and give your user the IAM role Compute OS Login. IAM-managed SSH: easier revocation, 2FA-ready. - Connect over SSH —
ssh root@PUBLIC_SERVER_IPfrom your local terminal. - Run the Pete installer — paste the one-liner above; it downloads the script, makes it executable, and launches it.
- Launch Pete in your browser — when the script completes, visit
http://YOUR_SERVER_IP. - Harden SSH & firewall (optional, recommended) — move SSH to port 2222, rate-limit it with UFW, allow 80/443, enable the firewall. Next login:
ssh -p 2222 root@YOUR_SERVER_IP.
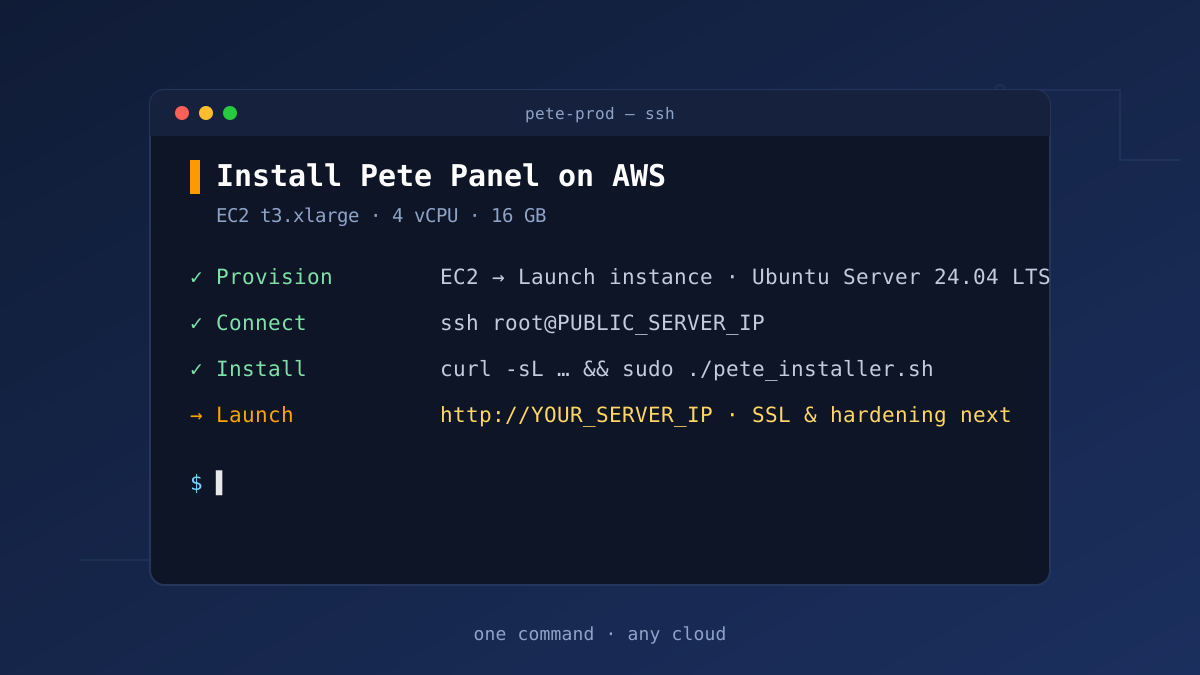
AWS
EC2 · t3.xlarge (4 vCPU / 16 GB) · 160 GB gp3 · Ubuntu Server 24.04 LTS
Launch an EC2 instance from the Ubuntu 24.04 AMI, lock SSH to your IP with a security group, and the same one-liner brings up the full stack.
- Launch EC2
- Key pair
- Security group
- SSH in
- Run installer
- Harden
The steps, start to finish
- Launch the instance — EC2 → Instances → Launch instance: name
pete-prod, AMI Ubuntu Server 24.04 LTS, instance type t3.xlarge (4 vCPU / 16 GB), storage 160 GB gp3. - Key pair — create (or reuse) a key pair, download the
.pem, andchmod 400 pete-key.pemlocally. This is your only way in — keep it safe. - Security group — allow SSH (22) from My IP, and HTTP (80) + HTTPS (443) from anywhere (
0.0.0.0/0). Launch the instance. - Elastic IP (recommended) — EC2 → Elastic IPs → Allocate, then associate it with
pete-prodso the address survives stop/start cycles. - Connect over SSH —
ssh -i pete-key.pem ubuntu@PUBLIC_SERVER_IP, thensudo -ifor a root shell. - Run the Pete installer — paste the one-liner above.
- Launch Pete in your browser — when the script completes, visit
http://YOUR_SERVER_IP. - Harden SSH & firewall (optional, recommended) — move SSH to port 2222, rate-limit with UFW, allow 80/443, enable the firewall — and mirror the change in the security group (open 2222, close 22).
Frequently asked questions
Where are the Docker configuration commands?
In the Docker engine-room cheat-sheet below — it lists every command to shell into the php, apache, and mysql containers, run WP-CLI, switch PHP versions, rebuild images, restart Apache, and enter MySQL, all from /opt/pete-panel.
What does the installer actually put on my server?
A Dockerized stack in /opt/pete-panel: Apache (MPM Event, HTTP/2), PHP 8.1–8.3 (switchable with zero downtime), MySQL, Redis object caching, phpMyAdmin, ModSecurity with the OWASP Core Rule Set, and Let’s Encrypt for SSL — plus the Pete Panel dashboard to manage it all. Nothing is installed on the host beyond Docker and the stack itself.
What server size do I need?
Whatever you provision, the Pete Panel installer tunes itself to it — it reads the server’s RAM and CPU count and adjusts the Docker Compose resource limits automatically to squeeze maximum performance out of the hardware. We recommend a minimum of a Linode (Akamai) 8GB instance with 4 vCPUs — comfortably overqualified for most WooCommerce stores. Go bigger for heavier traffic and the installer scales the stack to match. See the benchmarks by machine size →
How does the free SSL work?
Point your domain’s A record at the server’s IP (that’s why the guides reserve a static IP), create the site in Pete Panel, and click Generate SSL — certificates are issued and auto-renewed via Let’s Encrypt. Every site on the server gets its own certificate.
How do I move my playground site to production?
Create a backup in your Pete Panel dev environment, download it, and import it into any Pete Panel production environment — domains, database, and files come across in one step. To bring in a site that isn’t in Pete yet, use the Pete Panel Converter to export it into Pete format first. No manual database surgery either way.
Can I run several sites on one server?
Yes — multiple WordPress sites side by side, each with its own virtual host and SSL certificate. The benchmarks page shows what a single machine can absorb; most teams consolidate several production sites on one server.
Where are my database passwords and other secrets?
Every credential generated during installation lives in /opt/pete-panel/.env — treat it like a vault key: chmod 600, never commit it, never paste it into support tickets. The cheat-sheet below shows how to read it.
Do I need a license for production?
The local dev playground is free forever. Running sites in production is covered by Pete Panel Pro — which includes production deploys, free SSL certificates, and ticket support. Enterprise builds get a custom quote.
Advanced: the Docker engine room
Every cloud above runs the same stack, in the same place: /opt/pete-panel. Shell into the containers for WP-CLI, logs, v-hosts, and one-off queries — this cheat-sheet applies to all platforms.
| Task | Command (from the project folder) | When / why |
|---|---|---|
| Go to the project | cd /opt/pete-panel |
The whole stack lives here — every command below runs from this folder. |
| View generated secrets | sudo cat /opt/pete-panel/.env |
Every credential the installer generated — DB passwords, API keys, tokens. Restrict with chmod 600; never commit it or paste it into tickets. |
| Start or rebuild the stack | docker compose pull docker compose build docker compose up -d |
Rebuilds any changed images and (re)launches every service in the background. |
| Open a shell in a container | docker compose exec php bash docker compose exec apache bash docker compose exec mysql bash |
Inspect logs, run WP-CLI, edit files quickly. |
| Switch PHP version | Set PHP_VERSION in .env (8.1 / 8.2 / 8.3), then docker compose build --no-cache php docker compose up -d php |
Zero downtime — only the PHP container is swapped. Verify at /admin/phpinfo. |
| Rebuild after a Dockerfile edit | docker compose build --no-cache apache docker compose build --no-cache php docker compose build --no-cache mysql |
Forces a clean image rebuild for the service you changed. |
| Restart Apache in place | docker compose exec apache apache2ctl restart |
Applies v-host changes without recreating the whole stack. |
| Where Apache keeps v-hosts | /etc/apache2/sites-available /etc/apache2/sites-enabled |
Edit in sites-available (staging), symlinked live in sites-enabled; then apache2ctl graceful inside the container. |
| Where the website files live | /var/www/html |
Apache’s docroot inside the containers; Pete itself is at /var/www/html/Pete. |
| Enter MySQL as root | docker compose exec mysql mysql -u root -p |
Password = MYSQL_ROOT_PASSWORD in .env. Handy for one-off queries or importing .sql dumps. |
| Delete all volumes | docker compose down -v |
Irreversible. Stops containers and removes every volume — databases included. Nuke-and-pave only. |
Your cloud isn’t listed?
The installer runs on any Ubuntu 24.04 server with root access — these guides are just the paved paths. Tell us where you’re deploying.